_____________
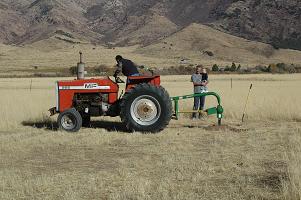
Ground breaking October 23, 2009
 _______
Beginning of Construction July 9, 2010
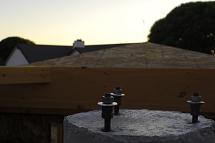
The Tube is 12 inches in diameter and placed 5 feet
into the ground. The overall height from ground level to the top of
the tube is 8 feet. The image on the Right shows the imbedded bolts
on top of the pier. These bolts are 10 inches long and were inserted
when placing the concrete. The bolts were oriented with true north
and designed to fit the adapter plate designed by Velmir Popov of
Elate Observatory. The adapter plate fits the Celestron CGE Series.
The design plans for the plate can be found by clicking on this link
elateobservatory.com
 __________________
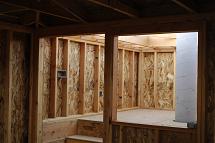
I elected to go with 2x4 construction and plywood
inner siding. I know this is more expensive, but I wanted a quality
observatory. This allowed for insulating the "Warm Room"
for those cold/hot nights. It is relatively easy to warm and cool
the warm room. The picture on the left shows the view from the warm
room to the scope room. I used threeway switches for Red Lights and
White Lights. The lights in both rooms can be controlled from either
location. I don't have wiring pictures, but I placed 120 V outlets
on all four walls 12 inches from the floor and one higher up on the
east wall of the scope room. I am hoping someday to automate the dome
and I wanted power closer to the dome. I ran a 2 inch conduit from
the pier to the warm room for connecting to computer control. Up the
south side of the pier, I placed another 120 V surge protected outlet
to run the scope electronics and cameras.
 _____
_____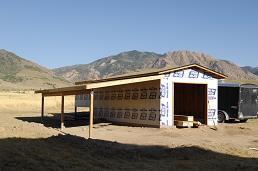
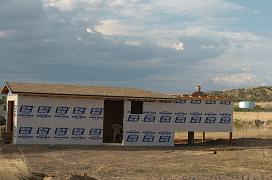
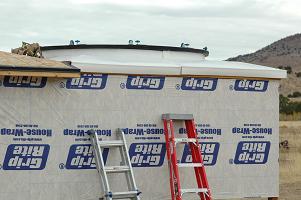
The entire building was wrapped with a vapor barrier
before putting on the final siding. The picture on the right shows
another addition requested by my wife. The roof was extended to allow
for deck furniture and other items to be stored under a roof during
the winter months.
__
The Explora Dome Roof Support assembly is shown in this
picture. The plans for this support structure can be found by clicking
this link explora-dome.com
for the "Wood Building Lay Out" instructions. The dome roof
support sits on the walls and provides the foundation for the dome.
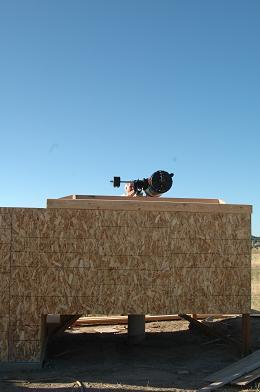
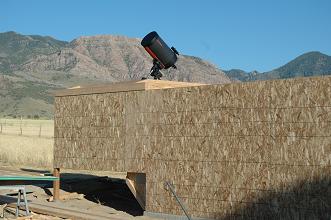
The pier height was calculated to allow for horizon viewing when the
scope is in the lowest position as shown on the left photo. When in
the default position the scope is shown on the right photo.
 __
__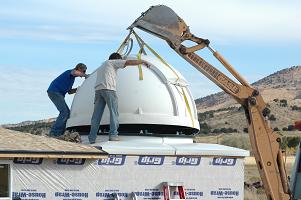
I purchased the fiberglass roof structure to fit on
the roof support shown in the previous slides. These came in four
pieces provided by Explora-Dome. The dome ring and rollers as shown
were provided with the purchase of the dome. In the photo on the right,
the Back Hoe had just enough reach to set the dome on the rollers.
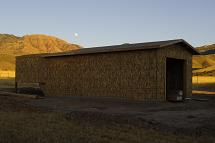
After the dome was set, the dome retainer ring was installed. The
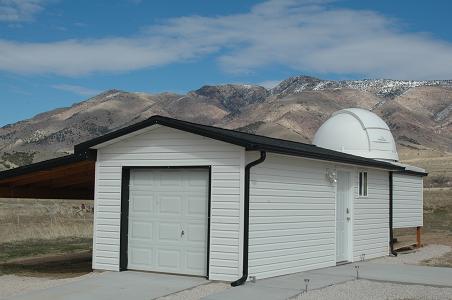
white siding was put on the sides of the observatory, rain gutters
were installed and the outside was finished as shown in the beginning
photo.
Inside the Observatory
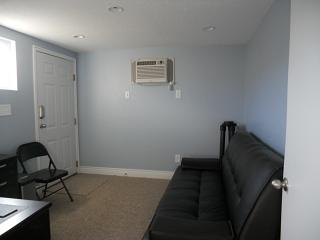
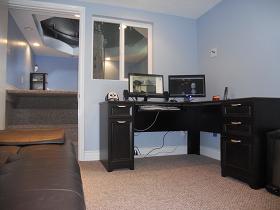
The "Warm Room"
The warm room was sheet-rocked, textured, painted, and
carpeted. This 12x10 foot room is just the right size to fit a couch,
computer desk and a few chairs. The room is heated with a wall insert
120 V heater that is thermostatically controlled. There is 1 Red light
in the center of the room and 4 white lights. I chose "Can Lights"
so that fixtures will not be hanging from the ceiling. Below are some
pictures of the finished "Warm Room"
 _
_
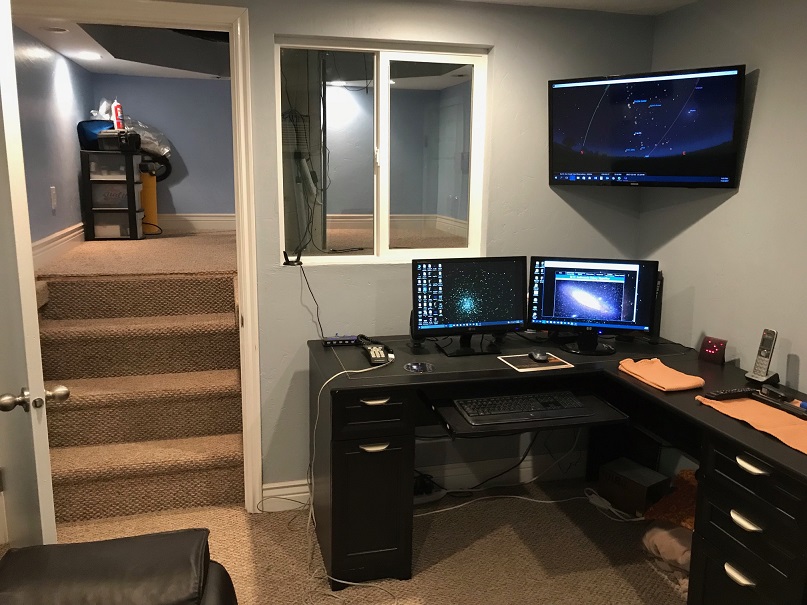
I recently added a new 32 inch monitor to the Warm Room.
I now have three monitors to work with. The purpose of the 32 inch
monitor is to give a larger viewing screen when people come over to
the observatory. When doing astrophotography, I use it to put a large
image of Stellarium on the monitor to see what my photo target is
located in space.
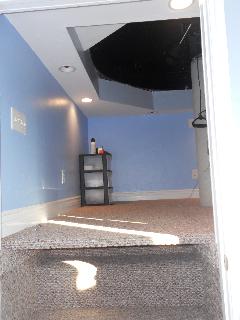
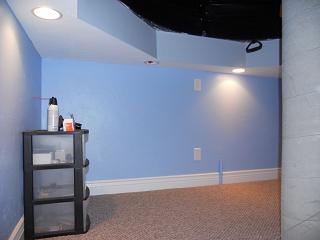
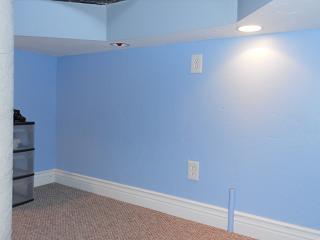
The Scope Room
The scope room is not insulated and not heated. I had
it carpeted just like the warm room so that if I accidentally dropped
an Eyepiece or other piece of equipment, it would have a soft landing.
The sheet-rock gives this room a finished look and a nice place to
work. Again I used "Can Lights" for lighting. There is one
White light on each of the 4 sides giving a total of 4 white lights.
There is also one red light on each of the 4 sides giving a total
of 4 red lights. All lights can be controlled either from the Warm
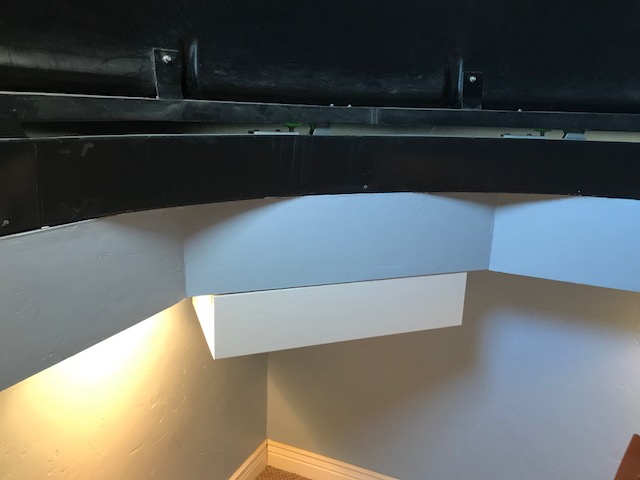
Room or the Scope Room. I had a "Trap Door" carpeted and
installed over the steps leading up to the scope room. You must watch
your head entering or leaving the scope room, but once inside you
can completely stand up. The dome is 8 feet in diameter and has a
height of over 4 feet. You can comfortably have 4 people at one time
in the scope room. Below are pictures of the scope room.
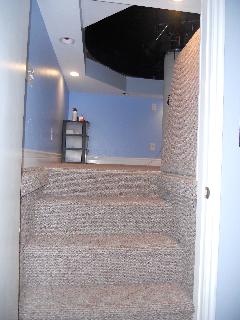 ______________
Trap Door open and Closed.
 __
__
The Dry Creek View Observatory was officially finished
on September 3, 2011 when the concrete was placed for the sidewalks
and patio. It took a little over 1 year to build. It could have been
finished in months, but the contractor worked on this in his spare
time. The entire cost of building the Observatory including cement
work, finish work, furnishings and dome was approximately $14,000.
Sounds like allot but spreading out the costs over a year made it
less painful.
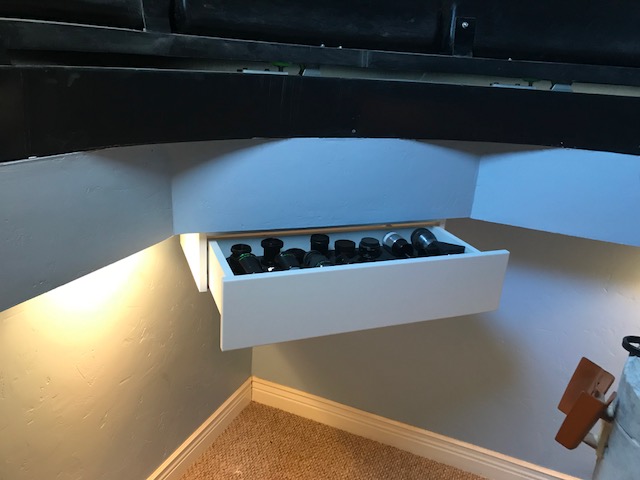
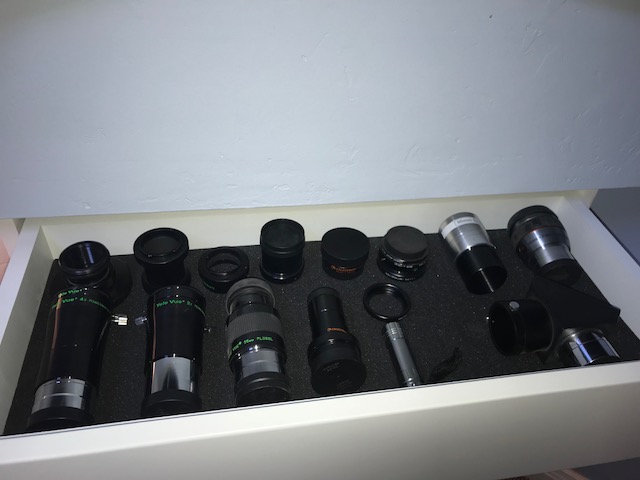
To keep the clutter down and to make a more organized
scope room, I added a drawer to house my lenses and visual observing
equipment. Pictures of the drawer loaded with my lenses are shown
below.
Why a Dome?
Why did I purchase a dome instead of a roll off roof
design? The dome costs more, and you cannot see the entire sky at
a given time. My son said the dome looks neat and it is more what
you expect an observatory to look like. That reason alone was not
why I purchased the dome. I first determined what I really wanted
to do with my scope. I wanted to take pictures. I live in an area
near the mouth of a canyon and we get East winds almost every night
in the summer. With a dome, I am sheltered from the winds and that
makes the scope more stable. I am also not affected by lights from
the surrounding houses. For these reasons I chose the dome. I like
roll off roofs, but the dome provided me with more protection.
Things I would do differently.
The major thing I would do differently is to insulate
the scope room. I didn't want to insulate it, because the scope needed
to be at ambient temperature. I have found that when the dome is open,
the temperature comes into equilibrium quite quickly. I do not see
an advantage of not insulating the scope room. It will help with the
summer hot temperatures and winter cold temperatures. I definitely
would insulate the floor. Since it is off the ground, it gets cold
on the feet. If possible, I would put electric heating on the floor
for the sake of the toes on cold winter nights. Because I take my
shoes off in the scope room, I presently stand on a heating pad when
it is cold.
I would change the location of the light switches in
the Scope Room. The switches are handy near the trap door when entering
and leaving. However, if I could do it again, I would mount the switches
just below the dome ring on the wall by the trap door. That way I
don't need to stoop down when turning on or off the lights while in
the Scope Room